Roof windows are a fantastic way to bring light and ventilation into a building. Whether you’re a roofer, window installer or builder, if you’ve recently bought a roof window you’ll want to know how to install it correctly.
The following instructions are best applied to Dakea roof windows. If you have an alternative brand of window, many of these instructions will still apply – but it’s advisable to seek specific advice for your brand of window to ensure the best installation.
For specific installation instructions, download the installation manual for your new Dakea roof window: installation manuals.
How to install a roof window
Each roof window might require specific installation instructions different from other Dakea windows. We recommend viewing the installation instructions for your specific window for the most accurate installation instructions. These are supplied with every window, and are available in our installation manuals. View our guide on roof window types.
For a general window installation guide, view our installation video or read the corresponding written instructions below.
Please note that these instructions are designed to provide additional guidance for professionals, not homeowners. We always recommend homeowners hire a reliable and experienced roof window installer.
Required tools:
Tape measure
Level
Hammer
Work gloves
Safety goggles and head protection
Pencil
Measuring square
Angle grinder
Saw (panel)
Pincers
Craft knife
Screwdriver
Drill
Installation instructions for your window
Approximate time: 1.5-4 hours*
*Depending on whether you’re just installing the window and flashing (approx. 90 minutes), or whether you also need to cut the hole and do the internal finishing work (approx. 4 hours).
Remember to wait until a dry day to install your window. Otherwise, you might end up with a wet attic or moisture trapped within the insulation.
Before you start
Be sure to select the right roof window for your requirements. At Dakea, we have roof windows in a range of designs and sizes, including PVC windows, pitched roof windows and flat roof windows. If you’re replacing an existing window, make sure you get the correct size!
Before deciding on your size and style of the roof window, however, you should check the structural integrity of the roof. As a general rule of thumb, homes constructed after 1960 have factory-built roof trusses. A structural engineer will need to check these before you install the roof window.
1. Delivery and unboxing the window
Your window will be delivered to your site. At Dakea, we have a fully trackable system so you know when to expect your window.
Once delivered, your Key Account will contact you with the necessary info and will offer any further assistance should you need it. Read more about the delivery logistics on our housebuilders page.
Your window will arrive in a secure box and will need unboxing.
Always check the box for damage before you open it. If the box packaging is torn or broken, let the delivery driver know right away or call your Key Account contact as soon as possible.
Ensure all the parts of the window are in the box. Check the instructions and lay all parts out, identifying them so you can know you have all you need for installation.
Storing to unbox later
If you’re not installing your window immediately, it should be stored in the standing (vertical) position so that the corner label on the box faces up (not upside down). If you take the roof window out of the box for any reason, it’s important that it is not stored separately, without the packaging. The roof window is only balanced when in the box.
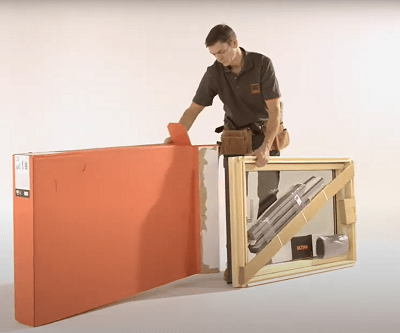
2. Preparing the window
The new roof window will come with the necessary fixtures for installation, with flashing available separately (as it needs to be specific to the roof type).
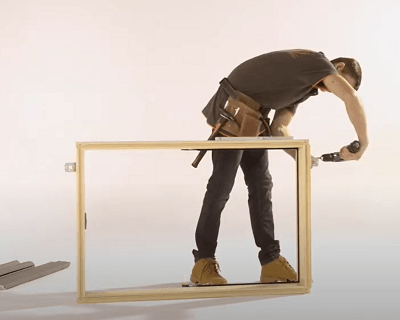
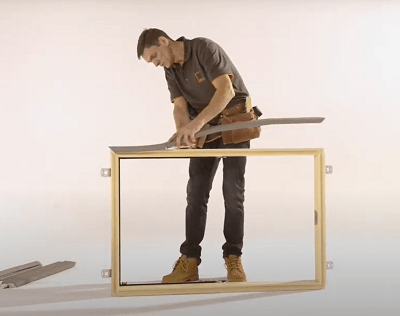
The window sash should be removed from the external frame to allow for the fixtures to be drilled into the frame safely. Open the roof window and unlock the centre-pivot mechanism. This will allow you to remove the window from the frame. (See 0:25-0:30 on the installation video above).
While you install the roof window, place the sash with the top downwards on a clean and even surface. Ensure the aluminium cover parts are not bent or scratched and the gasket on top of the sash isn’t compressed.
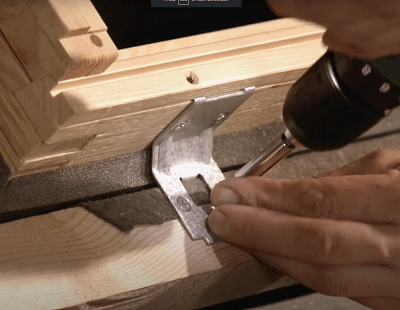
Measure and drill in the metal brackets. If it is a PVC window, the supplied self-tapper screws should be used to attach the brackets. Wood screws are for fixing the brackets to the battens.
Wipe down the frame to remove and dust from drilling.
Fit the insulation foam collar by peeling off the sticky back and adhering to the wooden frame.
Keep the inner window separate from the frame, as this will make installation much easier.
3. Preparing the attic for the window
Measure the attic to find the correct position for your new roof window.
Mark the rafters with the position of the roof window, particularly note the centre position of the window. Then use a square to mark the top and bottom, ensuring it is at a 90 degree position.
Remove the area of felt and/or boarding to expose the roof material.
If you haven’t already, cordon off the area of roof and then remove the tiles by lifting each up and pulling it back through the battens.
Once a suitable area is exposed, cut the battens close to the side of the rafters. If the opening needs to be wider, cut a rafter at the top and bottom to remove it with the battens.
Continue removing any necessary slates or roof tiles. Be sure to also remove enough to leave space for the window flashing. This is usually one additional row beyond the width of the window.
Remeasure the width and height, check that the angle is 90 degrees and mark the position of the trimmers. Place the bottom then top trimmers and secure them using nails. Be sure to use a level throughout to ensure all surfaces are flush and the opening is square.
Secure any lining to the trimmers.
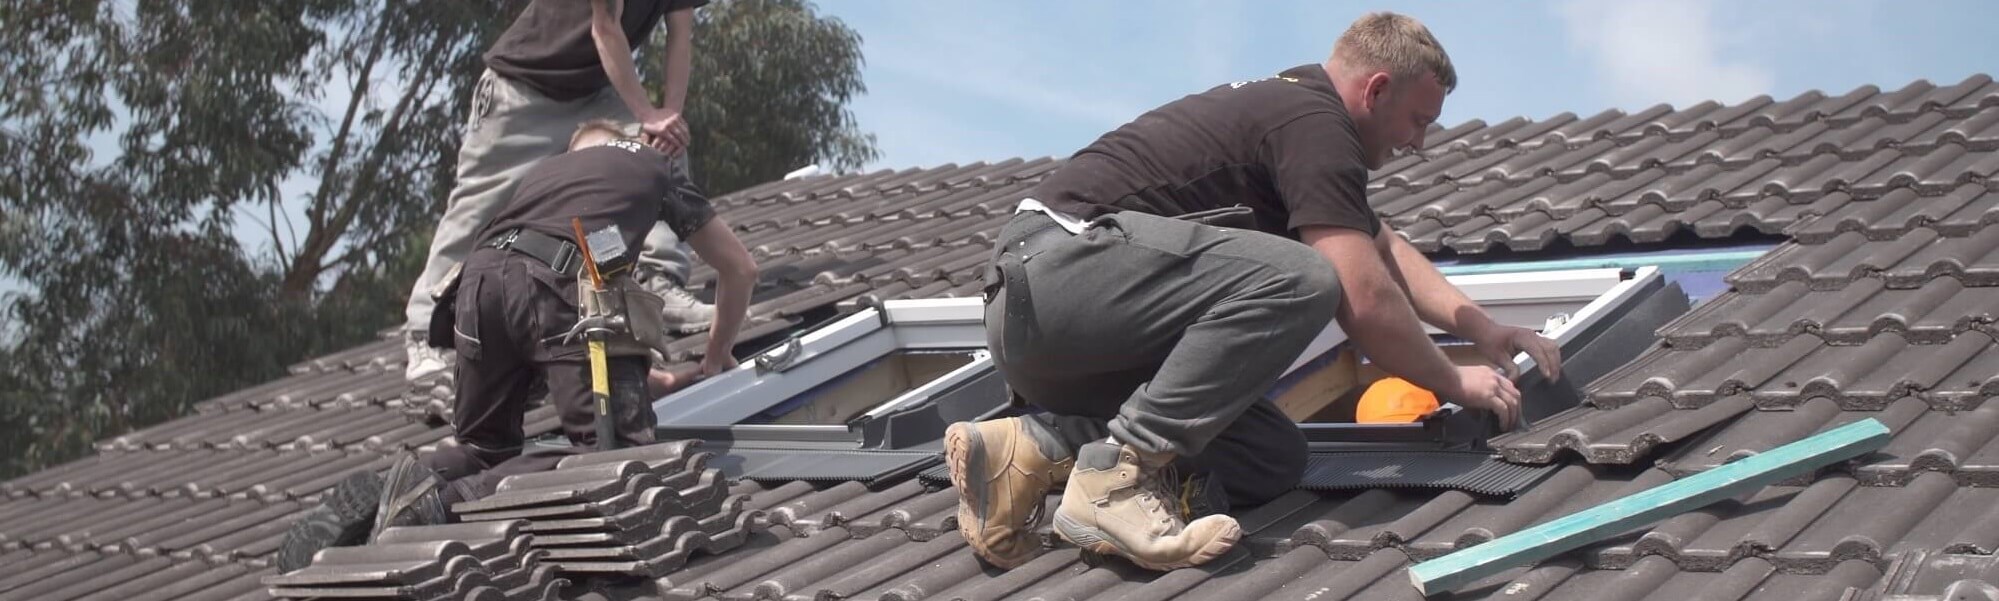
4. Installing the window
With both the roof and the window prepared, you can install your roof window.
With measurements already made, your new window should fit securely into the space.
Secure the roof window by screwing in the fixtures at the top and bottom. (See the installation video at 2:01-2:10.)
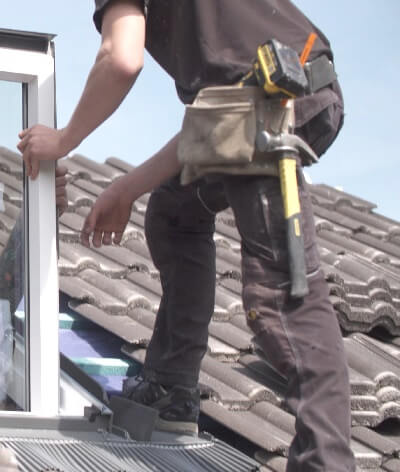
You can then secure the inner window back into the frame using the centre pivot mechanism.
From the inside, then check that the window is fitted correctly – with the right gaps between the frame and roof for the flashing.
Once the checks are complete, remove the inner window again to allow you to fit the flashing.
5. Installing the flashing
Flashing is essential for ensuring the new window installation is waterproof.
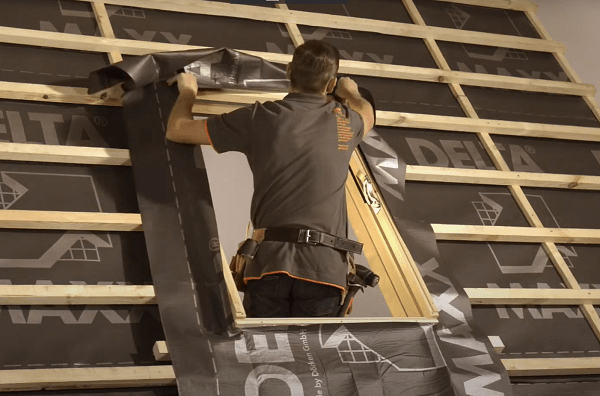
First install an underfelt foil collar. This isn’t a requirement, but it does help speed up the installation process by reducing the need for cutting and provides 100% watertightness when installed correctly. It should fit snugly around the window frame and tuck under the beams. It should then be fixed into place using nails or staples. View the full roof window installation video from 2:36-3:37.
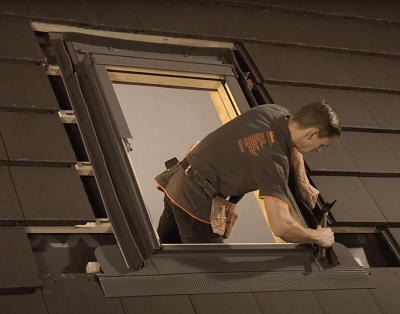
Place the bottom element of the flashing so it fits snugly against the window and overlaps the existing roof tiles. Secure this into place.
Lock the side elements into the bottom element. They will fit tightly against the window. Again, drill the parts into place.
Slot the top element into the side elements.
Nail all the flashing into the roof beams.
Bend the corners of the bottom element upwards to slightly overlap the side elements.
Trim the foam insulation.
Don’t forget the drainage gutter above the window! This guides unwanted water away from the window to prevent leaks.
6. Completing the roof
Finally, you need to complete gaps in the roof tiles.
Measure the gap and cut your tiles to the correct size, leaving 30-60mm between the flashing inner edge and the roof tile.
Finally, replace the window sash using the centre pivot mechanism.
Your roof window installation is complete!
Installing flat roof windows
Flat roof windows are installed in pitches between 5-15°. Any less than 5°, water is likely to pool on the window, leading to leaks or damage.
If you’ve bought a Dakea flat roof window, download the FRF or FRE installation manuals for detailed installation instructions.
If you have any questions about your installation, call our UK customer services team on: (+44) 20 3970 5080
Are you a professional installer, contractor, or housebuilder? Sign up for our newsletter today to be the first to hear about new products, promotions and exclusive offers.
For all other enquiries please complete our contact form
on our website.
I WOULD LIKE TO RECEIVE A QUOTE
JOIN OUR NEWSLETTER!
Are you a professional installer, contractor, or housebuilder? Sign up for our newsletter today to be the first to hear about new products, promotions and exclusive offers.
For all other enquiries please complete our contact form
on our website.
We use cookies and similar technologies to ensure the proper functioning of the website, analyse traffic, and tailor content and marketing communications. You can accept all optional cookies, reject them, or customise your settings.
Essential
Always active
These cookies are essential for the proper functioning of the website and cannot be disabled. They are used to ensure website security and prevent misuse, manage user sessions (e.g. maintaining form data), remember your cookie and privacy preferences, enable core website functionalities such as navigation and access to requested services.
User preferences
These cookies allow us to remember the website settings you have selected, such as language, region, or other preferences, to make your experience more convenient.
Analytics
The technical storage or access that is used exclusively for statistical purposes.These cookies allow Altaterra to understand how users interact with the website, for example which pages are visited most often. The data is processed in aggregated and anonymised form. In some cases, data may be shared with third-party analytics providers (e.g. Google Analytics).
Marketing
These cookies are used to display marketing messages that may be of interest to you and to measure their effectiveness. In some cases, they help tailor content to users’ preferences based on information about how the website is used. Data may be transferred to and used by third-party advertising and marketing technology providers such as Google or Meta.